

Your driver is the star of your golf bag. It’s the most expensive club, and it can be a big mistake for amateurs. It promises great things but often falls short.
This isn’t just about a bad slice. It’s a major physics problem. Players often lose 10 to 20 yards because of the wrong loft or shaft.
Guessing your way through golf is costly. Your distance, accuracy, and confidence matter. A real check-up for your driver happens outside, where wind and real conditions matter.
This isn’t about magic. It’s about fine-tuning your launch conditions and spin for more distance. Your path to a longer tee shot begins with knowing what’s missing.
This isn’t about magic. It’s about fine-tuning your launch conditions and spin for more distance. If you want a deeper look at how the right setup can improve both yardage and control, read our guide to custom driver fitting.
Key Metrics (Launch, Spin, Speed, Descent)
Launch angle, spin rate, ball speed, and descent angle are key to your golf game. They help you hit the ball far and straight. Think of them as the controls for your golf flight simulator. Without them, you’re flying blind.
Ball speed is your raw power. It’s how fast the ball leaves the clubface. But speed alone is not enough. You need direction too.
Next is launch angle. It sets your ball’s path. Too low, and it goes too short. Too high, and it’s lost to the wind. Getting this right is critical.
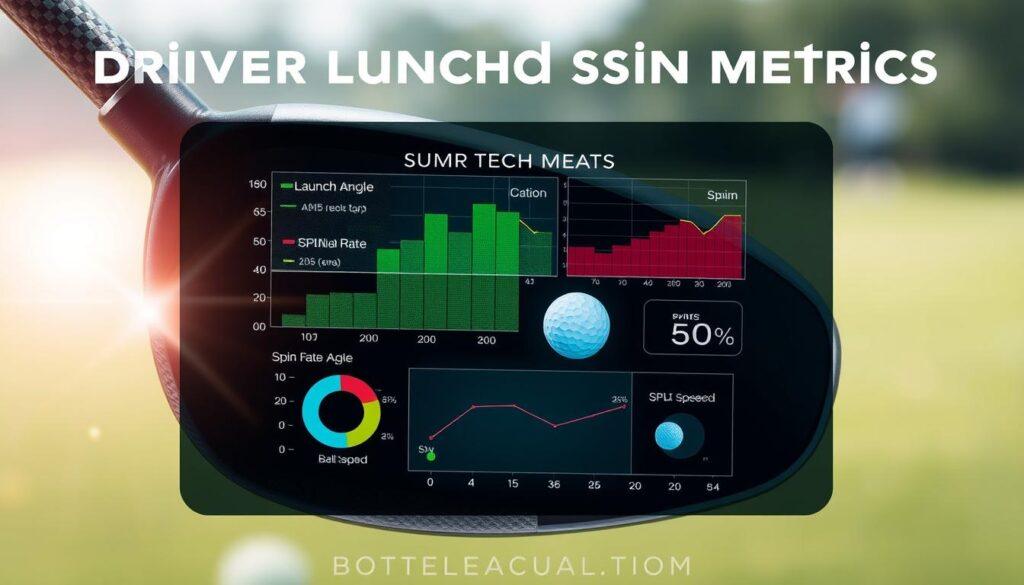
Spin is the magic that keeps the ball in the air. Too much, and it drops too fast. Too little, and it doesn’t fly far. You need just the right amount.
The descent angle affects how far the ball rolls. A steep angle stops the roll too soon. A shallow one lets it roll further. It’s key to getting the most distance.
For a golfer with a 90 mph swing, loft matters a lot. The wrong loft can mess up your game.
| Driver Loft | Launch Angle | Carry Distance | Spin Rate |
|---|---|---|---|
| 9° | Lower | Shorter | Lower |
| 11° | Optimal | Longer | Optimal |
| 14° | Higher | Potentially Shorter | Higher |
The chart shows how loft affects distance. A 9° loft can lose you 24 yards compared to a 14° loft. Your attack angle also plays a big role in driver launch and spin.
When these metrics work together, you get the best results. It’s not just about being fast or having low spin. It’s about finding the perfect balance. This is how you achieve optimal launch and spin.
Your goal is to fine-tune these settings. The driver launch and spin must match. Your ball speed should lead to a good descent. Get it right, and you’ll hit the ball far and straight every time. Get it wrong, and you’ll just make noise.
Head/Loft/CG Options
The loft number on your driver is not always right. Your swing is the real guide. Choosing a head is about strategy, not looks or brand loyalty.
Let’s debunk a big myth: the loft number on the sole. That number, like 9, 10.5, or 12 degrees, is just a starting point. Your angle of attack is what really matters. If you hit down, you lower the loft. Hit up, and it goes higher.
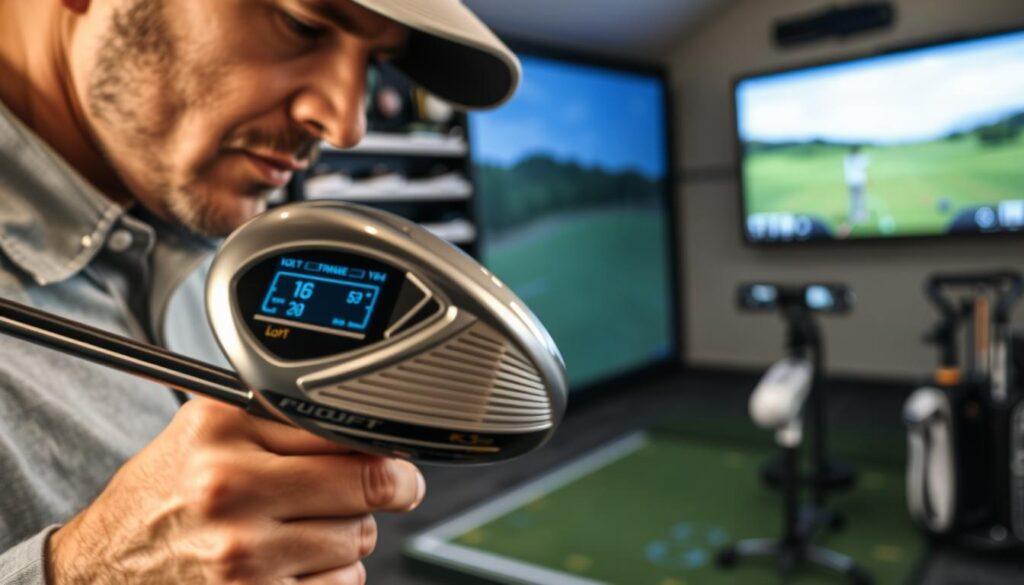
CG and face bias play a big role too. A low, rear CG means higher launch and forgiveness. A forward CG lowers spin. Heads biased to draw are great for slicers.
The 2024 lineup shows off this engineering. They all talk about “Maximum MOI” or “10K” heads for forgiveness on mishits.
But, forgiveness doesn’t help if the launch is wrong. A high-spin player with a low-spin head can see big gains in distance. The right head boosts ball speed on off-center hits.
Our fitting data shows clear winners for different swings. It’s not one-size-fits-all; it’s a custom fit.
| Swing Speed Profile | Head Model Examples | The Strategic Fit |
|---|---|---|
| High Speed / Low Spin Seekers | TaylorMade Qi10 LS, Callaway Paradym AI Smoke Triple Diamond, Ping G430 LST | These low-spin, often compact heads maximize control and reduce excess spin for powerful players. They preserve ball speed on center strikes but demand precision. |
| Moderate Speed / Balanced Players | Titleist TSR2, Cobra Darkspeed X, Ping G430 Max | The sweet spot of forgiveness and workability. Typically fit into 9° to 10.5° lofts, with face bias tuned to correct your predominant miss. |
| Seeking Maximum Forgiveness | TaylorMade Qi10 Max, Callaway Paradym AI Smoke Max, Cleveland Launcher XL | High-MOI designs that keep shots in play. Ideal for players prioritizing consistency over workability, often benefiting from slightly higher static lofts. |
We usually start fitting between 9 and 10.5 degrees. The final loft depends on your angle of attack. It’s a balance between the club’s loft and your swing.
Don’t overlook the psychological aspect. If you don’t like how a head looks, you won’t trust it. It’s a mix of physics and psychology. The data shows what works. Your gut decides what you’ll play.
Shaft Profile, Length & Swing Weight
Forget launch monitors for a second—the real secret to unlocking driver distance might be hanging from the grip end, in the form of a graphite tube most players ignore. If the head is the engine, the shaft is the entire drivetrain. Using the wrong one is like trying to win the Indy 500 with a transmission from a golf cart.
The shaft’s profile—its bend, weight, and stiffness—orchestrates how you deliver the clubhead. It controls your tempo and, ultimately, your driver launch and spin. Let’s get analytical.
A strong, aggressive swinger often needs a stable, low-launch profile to control spin. Think a 65-gram Mitsubishi Diamana WB or a Ventus Black. For a smoother player, a lighter, 55-gram mid-launch shaft like an Aretera Alpha One Blue or Ventus Blue might unlock hidden speed. It’s not about picking a color; it’s about matching a complex feel to your swing’s algorithm.
Then there’s length. The industry’s obsession with 45.5-inch drivers is, for most amateurs, a conspiracy for inconsistency. Shorter often equals more center-face contact. That’s the holy grail of both distance and accuracy. Proper length is “Ground Zero” in fitting.
Our data shows a clear trend. Use this chart as a starting point:
| Player Height | Recommended Driver Length | Primary Benefit |
|---|---|---|
| 5’5″ – 5’7″ | 44.0″ – 44.5″ | Dramatically improved consistency |
| 5’8″ – 5’10” | 44.75″ – 45.0″ | Optimal balance of control and power |
| 5’11” – 6’2″ | 45.0″ – 45.25″ | Maintained leverage with better strike |
Swing weight is the final seasoning. It’s the club’s balance point (D1, D3, etc.). Get it wrong, and the whole recipe fails. Too heavy in the head, and you’ll struggle to release it properly, hurting your angle of attack. Too light, and you’ll lose all sense of where the club is in space.
We determine weight in a static fitting first. Then we fine-tune it with ball flight data. The goal isn’t to swap parts. It’s to compose a specific feel—a feel that translates into repeatable, powerful mechanics. When the shaft profile, length, and swing weight sync with your motion, you create the ideal conditions for a powerful angle of attack and an efficient driver launch. That’s how you add yards without losing the fairway.
Tee Height & Angle of Attack Coaching
The key to better driving isn’t in the clubhead. It’s in the space between the tee and your ball. Spending a lot on new clubs won’t help if your setup is wrong. It’s time to focus on your technique.
Tee height is your first and most critical setting. Getting it right can make a huge difference. Too low, and you’ll hit the ball wrong, adding unwanted spin. Too high, and your shot will go too far, losing ball speed.
The goal is to hit the ball right in the middle. This ensures the club’s sweet spot meets the ball’s equator. This way, you get straighter shots and make the most of your expensive driver.
Now, let’s talk about angle of attack. This isn’t about new technology. It’s about understanding physics.
Imagine swinging at 100 mph. Hitting down too much can lose you yards. But hitting up can gain you over 25 yards. This isn’t about a new driver. It’s about improving your swing.
Our coaching makes this easy. We focus on three key areas:
- Ball Position: Keep it forward in your stance for a better swing.
- Spine Tilt: A slight tilt helps your swing go up, not down.
- Intent: Change your mindset from hitting down to sweeping the ball.
Improving your angle of attack is the cheapest way to get better at golf. It reduces spin and boosts ball speed. Stop spending on new clubs. Start improving your game.
Booking Notes & Expected Time
You’ve looked into launch metrics and spin profiles. The theory is solid. Now, it’s time to book the experiment.
Driver fitting isn’t just an appointment. It’s a reserved lab session where you’re the lead scientist. We begin by setting a baseline with your current driver. We need to see what we’re up against.
The real work starts here. We test different head and shaft combinations against your baseline. Our goal is to optimize your game—maximize ball speed, control spin, or find the perfect launch window.
We adjust length and swing weight until the club feels like an extension of you. If your numbers need it, we’ll also work on angle of attack.
The whole process takes place outdoors. Using a simulator net is like judging a meal from a photo. You need to see the full flight.
Expect the session to last 60 to 90 minutes. Will you gain distance? Most people do. The real win is in optimized launch and tighter dispersion. Is a driver fitting valuable for a mid-handicapper? Absolutely. It’s the great equalizer.
Can we focus on accuracy over just gaining distance? We definitely can. The goal is to build your confidence, not just give you a receipt. Ready to stop guessing and start knowing?